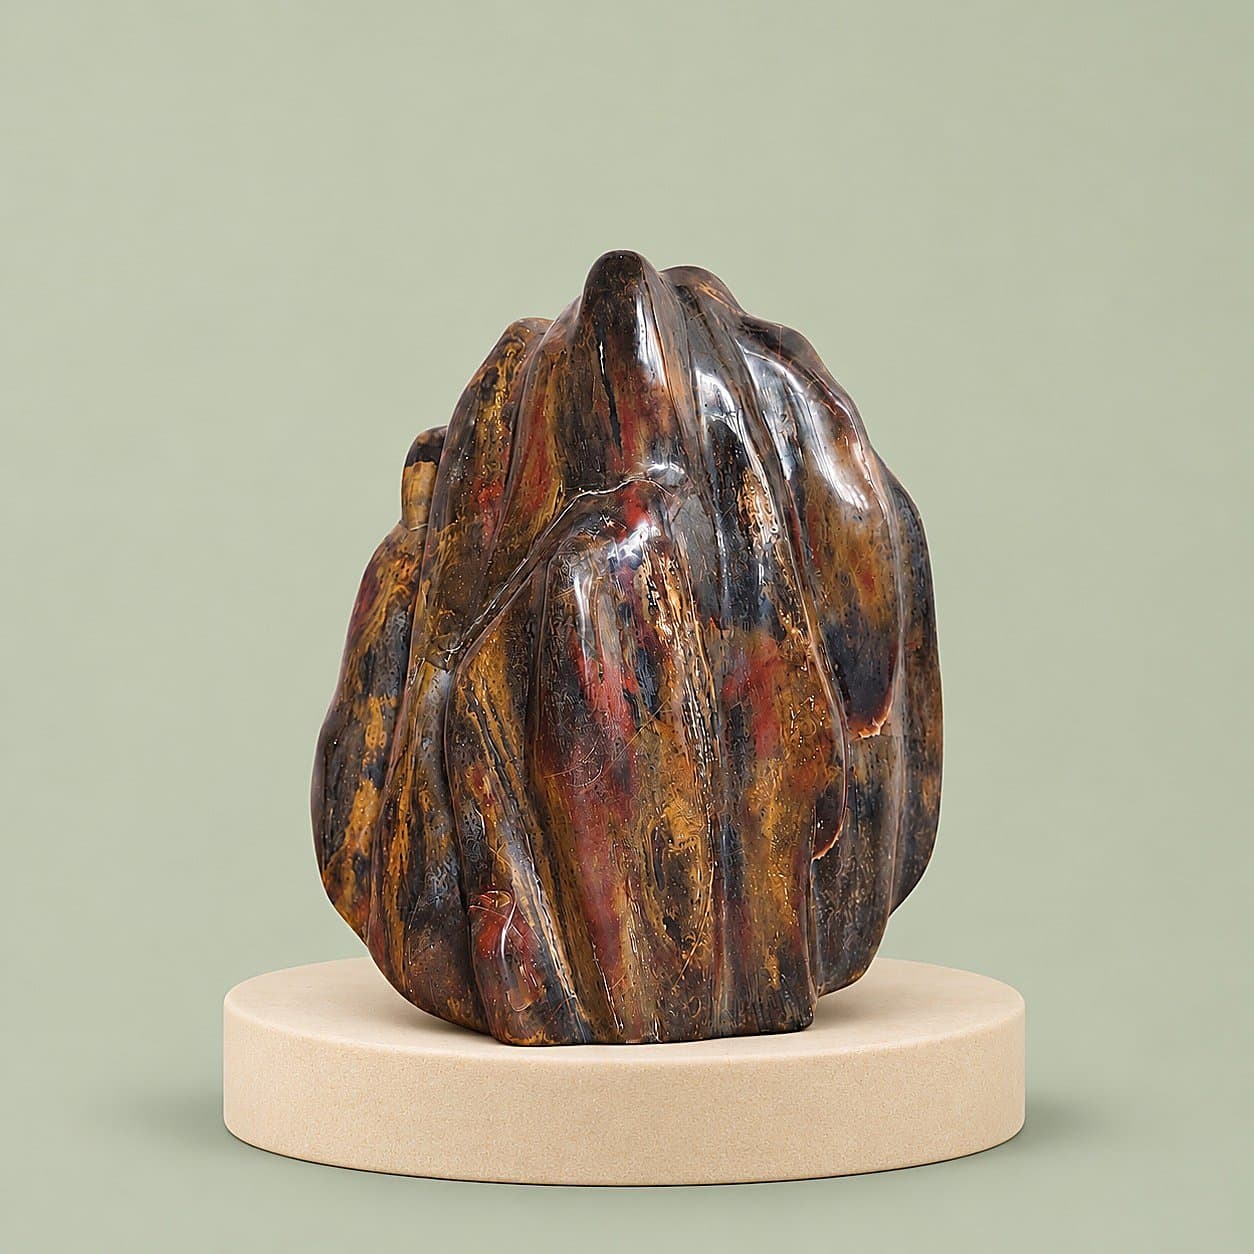
Silicified wood—petrified wood in which original plant tissue has been replaced or infilled by silica minerals—is one of the most rewarding and most misunderstood materials on a lapidary bench. A well-silicified limb cast can take a mirror polish and preserve cellular detail that is millions of years old, yet the same piece may hide porous zones, resin-filled fractures, or quartz-hard inclusions that behave differently under a saw. This guide explains what silicified wood is, how its mineralogy affects cutting and polishing, and how to plan slabbing, grinding, and finishing for consistent results. It is written for lapidaries, jewelry makers, and collectors who work with Indonesian fossil wood and similar silicified material.
What Silicified Wood Really Is
Silicified wood forms when buried plant material is infiltrated by groundwater carrying dissolved silica, most often in volcanic or volcanioclastic settings. Silica precipitates in cell walls and lumina, and over time may replace organic tissue. The process is silicification: a combination of permineralization (minerals filling pores) and replacement (minerals substituting for original tissue). In many specimens, wood anatomy—growth rings, vascular bundles, ray cells—remains visible because silica templates the original structure.
The mineral phase matters. Freshly precipitated silica may begin as amorphous opal (opal-A), then progress through opal-CT (cristobalite and tridymite) to chalcedony and, with further time and heat, quartz. Each step increases hardness and changes how the stone cuts. A specimen dominated by quartz behaves like agate or jasper; one retaining opaline silica is softer and more prone to undercutting. Many pieces are mixed, which is why two adjacent areas of the same slab can polish differently.
Reading the Grain: Cross Cut vs Longitudinal Cut
The original wood grain is the first design decision. A cross-section (transverse cut) exposes growth rings and radial structures, often producing concentric or star-like patterns. A longitudinal cut (radial or tangential) emphasizes grain, figure, and vascular traces. Cross cuts are popular for cabochons and spheres because they create symmetrical patterns; longitudinal slabs highlight linear figure and are often used for display pieces or inlay.
Before committing, examine the rough for checks, ring shakes, and radial fractures. Cut slightly oversized and plan the final shape around stable zones. If the specimen is a limb cast, an oblique slice can reveal a wider internal view while avoiding the pith, which is often more porous or fractured.
Assessing Rough Before You Cut
Density is the most useful field test. Well-silicified wood feels heavy and rings when tapped; poorly silicified or chalky areas feel light and dull. Look for:
- Open fractures that run through the piece.
- Chalky, powdery, or porous zones, especially near the center or bark.
- Resin-filled or stabilized areas, which cut and polish differently than silica.
- Mixed mineral phases, such as copper inclusions or iron oxides, that create hardness contrasts.
A beautiful color is not enough. If softness continues deeply into the piece, expect undercutting and a weaker polish. Remove weathered rind if it is shallow, but do not assume the interior is sound.
Slabbing and Sawing
Use a diamond blade on a water-lubricated slabbing saw or trim saw. Keep the blade cool and clean; overheating can glaze the blade and fracture the stone. Let the saw do the work—forcing the cut increases chipping and blade wear. Feed rate should be slow and steady; silicified wood is among the harder materials commonly cut by hobby lapidaries.
Plan slab thickness with the final use in mind. Thicker slabs (8–12 mm) suit display and carving; thinner slices (3–5 mm) are better for cabochons and inlay. Leave extra material for grinding and orientation changes. If the piece contains fractures, saw around them rather than through them when possible.
Grinding, Sanding, and Polishing
Silicified wood is unforgiving about scratches. Work through a full grit progression and inspect the surface dry between steps. A practical progression for small to medium pieces:
- Coarse grinding: 80–220 grit to establish shape.
- Medium sanding: 400–800 grit to remove grinding marks.
- Fine sanding: 1200–3000 grit to prepare for polish.
- Polish with cerium oxide on felt or a soft wheel; Zam or tin oxide can be used for softer, opalized areas.
Do not skip grits. If scratches remain, return to the previous grit rather than pressing harder. Keep the stone wet to control dust and heat; the surface should never become hot to the touch. For large limb casts, wet/dry power sanding or a lapidary grinder saves time, but hand sanding gives more control on small cabochons.
Undercutting, Orange Peel, and Mixed Hardness
Mixed hardness is the main challenge. Quartz-hard silica may stand proud while softer opaline zones or organic remnants erode, producing undercutting and an orange-peel texture. Lighter pressure, finer abrasive progression, and a polishing system matched to the material can reduce the effect, but not every surface problem can be eliminated. Some collectors value the texture as evidence of natural variation; for jewelry, aim for the flattest possible surface and consistent reflectivity.
Copper, iron, or manganese inclusions can create dramatic color but also hardness contrasts. Cut around large inclusions if structural integrity is in doubt, and avoid placing a cabochon dome directly across a soft seam.
Stabilization and Resin Fills
Porous or fractured pieces are sometimes stabilized with resin to make them workable. Stabilized material cuts more predictably but polishes differently and may show a slightly softer luster. Disclose stabilization when selling or appraising. Avoid ultrasonic and steam cleaning on stabilized or cracked pieces, and keep acids and harsh solvents away from resin fills.
Safety: Silica Dust and Fractures
Silicified wood is silica. Dry grinding or sanding releases respirable crystalline silica, which can cause silicosis. Always work wet, use a NIOSH-approved respirator (N95 or better), and ensure ventilation or local exhaust. Wear eye protection; internal fractures can release high-speed fragments. Wash hands and clothing after work, and never dry-sweep silica dust.
Display and Care
Polished silicified wood is durable but not indestructible. Store slabs on felt pads to avoid scratches, and avoid dragging large pieces across hard surfaces. Clean with warm water, mild soap, and a soft cloth; dry thoroughly. For specimens with cracks or stabilization, avoid thermal shock and harsh chemicals.
RENDI VIRGO supplies rough material for lapidaries at our rough collection, finished cabochons at our cabochon collection, and display specimens at our specimen collection. Custom cutting and polishing services are available through our lapidary service.
FAQ
Can all petrified wood be polished to a mirror finish?
No. Only well-silicified material with consistent density polishes to a high gloss. Porous, chalky, or heavily fractured pieces may remain matte or show undercutting.
What grit should I start with when sanding silicified wood?
Start with the coarsest grit that removes saw marks without wasting material—often 120–220 grit—then progress through 400, 800, 1200, and 2000+ before polishing.
Is cerium oxide the best polish for petrified wood?
Cerium oxide on felt is a reliable choice for hard, well-silicified wood. For softer or opalized material, a polish formulated for softer stones may perform better.
Why does my slab have an orange-peel texture?
Orange peel usually comes from mixed hardness: harder silica stands proud while softer zones erode. Reduce pressure, refine the grit progression, and consider whether the material is suitable for a high-gloss finish.